Murmure: Ursina engine personal cheatsheet
⚠️ This article will evolve over time, this is not a final version!
I am a bit bored about my big Kanjis project, so I decided to put it away for the moment and try something new. So with absolutely no originality, I want to create a small video game. The idea is to work on my Python skills (yeah I know, we don’t really think about Python for video games but it’s just an excuse to get me coding and learning new stuff).
As I don’t want to do everything from scratch, I’ve been looking for a game engine for Python. I found PyGame, but it is only for 2D games, and I have in mind something more of a 3D game (or a least 2.5D). So I decided to try Ursina Engine.
In this article, I won’t go in details about what I plan for my game (you can see the evolution on my GitHub), for the moment I am just trying things with Ursina to understand how it works. My main problem is that the documentation is a bit laking… But it is finally pretty intuitive to use. So in this article will be my personal cheatsheet, where I am going to write everything I finally discover or understand. Which also means that I will add content later. And there will be many examples, because I find it easier to start from a working example and then change it than to start from an abstract explanation.
Note that I am using some YouTube tutorials like the MK Coding Space one.
Here is the table of contents of this article to help you navigate directly:
General information
Install and create an app
You can install Ursina with pip install ursina. Or if you are using UV like me, just do uv add ursina.
You import everything from Ursina, create a app and run it with the following commands:
from ursina import *

app = Ursina()
# Your code
app.run()
Coordinates system
The coordinates are (x, y, z) following this pattern (see Ursina documentation, I’m copying):
            y (up)
            |
            |
(forward) z |
          \ |
           \|
            *---------- x (right)
And the UI coordinate system:
                      (-.5, .5)           (.5, .5)
  (window.top_right)_______|__(window.top)____|_______(window.top_right)
                   |       '                  '       |
                   |       '                  '       |
                   |       '                  '       |
                   |       '                  '       |
       (window.left)       '      (0, 0)      '       (window.right or Vec2(.5*window.aspect_ratio, 0))
                   |       '                  '       |
                   |       '                  '       |
                   |       '                  '       |
                   |_______'__________________'_______|
(window.bottom_left)       |  (window.bottom) |       (window.bottom_right)
                      (-.5, -.5)          (.5, -.5)
And for the rotations, rotation_x means you are rotating around the x axis:
           _______
          /
          \->
    __
   /  \     y
   v  |     |
      |  z  |                __
          \ |               /  \
           \|               v   |
            *---------- x       |
                                |
Entity
It is the main element. Everything is an Entity. Here is an example :
wall = Entity(model='cube', position=(3, 1, 3), color=color.hex('#908caa'), texture='white_cube', collider='box')Here are some arguments you can define:
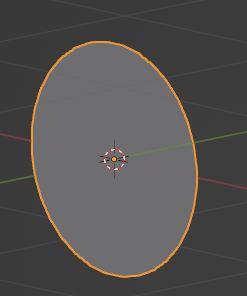
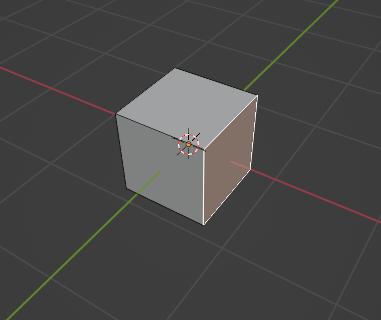
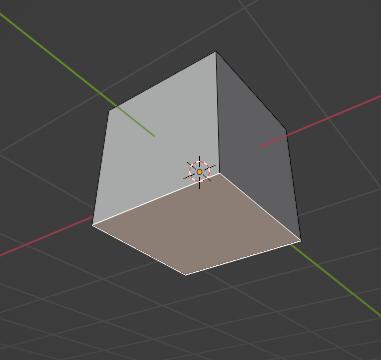
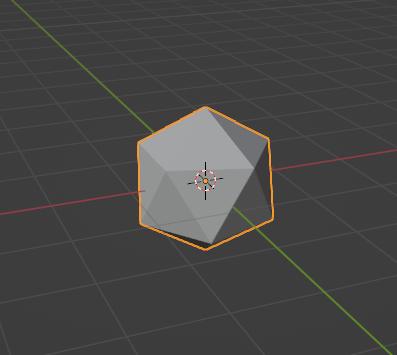
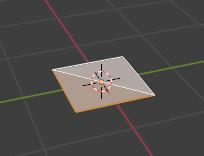
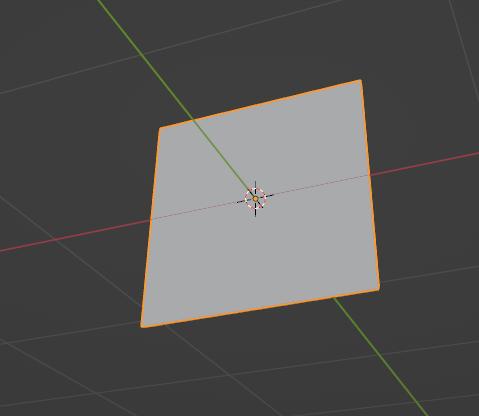
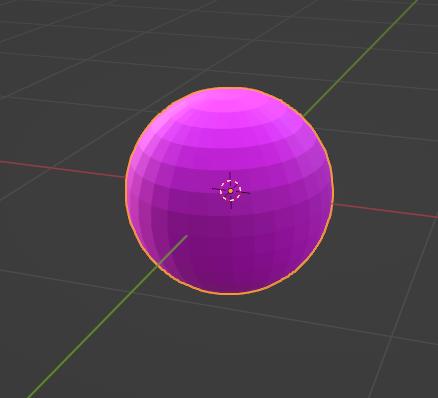
- model: well, the model that will represent this entity. You can have your customized ones from Blender or use the pre-configured ones:

- position and rotation: see Coordinates system
- scale:
(scale_x, scale_y, scale_z)or a single number applied to all dimensions - collider: see Collisions. Here are the possible ones:
- box
- color: you can use:
color.redfor examplecolor.rgb(r, g, b)withr,gandbas numbers between 0 and 255color.hex(h)withhbeing a string containing the hexadecimal code for the desired color (ex: “#908caa“)color.random_colorfor a randomly chosen color
- texture: the texture you want to apply to your model. As for model, you can use you own or use the pre-configured ones. You can find them in
ursina/texturesbut here are some of them:


It can be interesting to create some subclasses of Entity, here is an example:
class Player(Entity):
    def __init__(self, x, y, z):
        super().__init__()
        self.model = 'sphere'
        self.color = color.hex('#ea9a97')
        self.texture = 'vignette'
        self.position = (x, y, z)

    def update(self):
        # Here is your code updating the entity at each frame.
        # For example, moving or rotating the entity

    def input(self, key):
        # Example
        # Here, when the key 'r' is hit, calls function reset
        if key == 'r':
            Player.reset(self)

    def reset(self):
        # Example
        # This functions teleports the
        self.x = x
        self.y = x
        self.z = z

# Create a player:
player = Player(0, 1, 0)
Where am I?
You can check your entity position at any time with my_entity.world_position.
Camera
Here are some commands that seem useful but that I did not really understand how they were working, so I abandoned them:
EditorCamera()  # add camera controls for orbiting and moving the camera
camera.look_at(player) # I suppose it makes the camera following the entity player?
camera.add_script(SmoothFollow(target=player, offset=[0, 1, -30], speed = 4))
I found that it worked better to do it manually (see Coordinates system):
camera.position = ((min_x + max_x)/2, 13, -23)
camera.rotation_x = 30 # looks down
You don’t need to create camera, it exists when you create the app.
Function update
You can create a global function update that is called by the engine at each frame. This is particularly useful for moving your entity. Before the examples, note that you can have a global update function but it can also be a method from you personalized entity class (see this example).
First example, a cube rotating in all directions:
# Create the player entity
cube = Entity(model='cube', texture='white_cube')

def update():
    """
    Global function called at each frame.
    """
    cube.rotation_x += time.dt * 100
    cube.rotation_y += time.dt * 100
    cube.rotation_z += time.dt * 100
An important module here is held_keys, which allows to test if a particular keyboard key is held by the user. The variable held_keys['space'] is 0 if the key is not pressed, and 1 if it is.
Second example, an update function that moves the player entity with the arrow keys:
# Create the player entity
player = Entity(model='sphere')
speed = 5 # moves 5 times faster

def update():
    """
    Global function called at each frame.
    """
    player.x += held_keys['right arrow'] * time.dt * speed
    player.x -= held_keys['left arrow'] * time.dt * self.speed
    player.y += held_keys['up arrow'] * time.dt * self.speed
    player.y -= held_keys['down arrow'] * time.dt * self.speed
Function input
As with the update function, it can be global or a method from a subclass.
It takes the key as argument (so from my understanding, it acts the same as the update function with held_keys? It’s not clear at the moment, I will have to do more tests). You have an example here.
Collisions
This part is still unclear to me, so I will come back to it later (I think I’m gonna use the pre-existing PlatformerController2D in ursina/prefabs/platformer_controller_2d.py) but when you create you entity, you can define a collider. There are the following ones, all based on the entity’s bounds:
- box
- sphere
- mesh (this one is for custom shapes I think)
Then you can use it like this:
player = Entity(model="sphere", position=(0, 0, 0), collider="box")
wall1 = Entity(model="cube", position=(5, 0, 0), collider="box")
wall2 = Entity(model="cube", position=(-5, 0, 0), collider="box")

hit_info = player.intersects()
if hit_info.hit:
    player.color = color.red
In this example, when the player touches anything (like the walls), it becomes red. But it can still go through it. The idea will be to have the player bounce back orthogonally to the surface. For this, I have to use hit_info.entity. but I am currently working on it.
Raycast
raycast is a method that simulates a ray going from one position (for example from the player and going down) and detects the collisions with other object in the scene. It returns a HitInfo. Here are some parameters:
hit_info = raycast(origin, direction, distance=inf, ignore=(), traverse_target=scene, debug=False)- origin
- direction: direction of the ray, a normalized Vec3 (you can do
Vec3(x, y, z).normalized()), can also be something likeplayer.down– default is (0, 0, 1). - distance – default is infinity.
- ignore: list of entities to ignore during collision test. – default is empty.
- traverse_target: object or objects group to traverse to detect collisions. – default is all the scene.
- debug: if
True, draw a the raycas as a line. – default is False.
HitInfo
HitInfo is like a dictionnary with the following informations:
- hit (boolean or None): True if a collision occured.
- entity (Entity or None): closest Entity touched (None if no collision).
- point (Vec3 or None): local position of impact point, relative to the entity touched (None if no collision).
- world_point (Vec3 or None): global position of impact point (None if no collision).
- distance (float): between ray origin and impoact point (math.inf if no collision).
- normal (Vec3 or None): vector normal to surface touched by ray, relative to the entity touched (None if no collision).
- world_normal (Vec3 or None): vector normal to surface touched by ray, as global coordinates (None if no collision).
- hits (list): list of all impact points (empty list if no collisions).
- entities (list): list of all touched entities (empty list if no collisions).
Buttons
You can define a button with Button and define what happens when the user clicks on it with button.on_click. You can alse add a tooltip when the user hover over the button with button.tooltip.
Here is an example:
def colors():
    button.color=color.random_color()

button = Button(text="A button", color=color.azure, text_color=color.green, scale=0.25, icon="sword")
button.on_click = colors
button.tooltip = Tooltip("Click here!")
This button changes color everytime you click on it.
Mouse
You can access the mouse with mouse. Here are some examples of what you can do:
mouse.visible = False: hides the cursor
Gravity?
I guess I just have to lower the y position at each frame. And check collisions with the ground.